

5 Steps to Connect Apex to Tradovate and Scale Multi Account Trading
TradeDupe
8 min read
Five precise steps to connect your Apex funded account to Tradovate, fix sequencing errors that stop data, and scale multi account mirroring with TradeDupe.
Connecting Apex to Tradovate comes down to five moves: pull your Tradovate username and password from the Apex dashboard, log into Trader on a desktop browser, sign the market data agreement as Non-Professional, launch in Simulation mode, then wait for data to activate before linking TradingView or NinjaTrader. Skip any step out of order and you'll likely hit a wall.
*
> TL;DR: > > - Connecting Apex to Tradovate requires completing every setup step on a desktop browser, including signing agreements as Non-Professional and launching in Simulation mode. > - Credentials must be copied precisely from Apex, typed manually to avoid errors, and data activation typically takes 10 to 90 minutes, indicated by white ticker colors. > - Linking Tradovate to TradingView or NinjaTrader depends on proper sequential setup, with errors often caused by attempting connections before full account activation and selection of Simulation mode. > - Managing multiple accounts requires signing individual data agreements, setting up each account separately, and staggering provisioning to prevent overlapping activation issues. > - Using TradeDupe simplifies multi-account trading by providing centralized management, real-time trade mirroring, rogue-trade detection, and per-account control, greatly reducing manual oversight.
*
Table of Contents
- Quick Checklist: Essential Steps Before You Attempt Any Connection
- Setting Up Tradovate for Your Apex Account
- How to Link Tradovate to TradingView and NinjaTrader
- Managing Multiple Apex and Tradovate Accounts
- Common Errors and How to Fix Them
- How TradeDupe Handles Multi-Account Trading After Setup
- Author Perspective: What Actually Determines Setup Success
- Scale Your Apex Tradovate Setup With TradeDupe
- Sources
Quick Checklist: Essential Steps Before You Attempt Any Connection
Before touching any third-party platform, confirm the basics are in place. Skipping ahead is the most common reason traders end up stuck with blank charts or rejected logins.
- Confirm your Apex account is active and your Tradovate credentials appear in the dashboard.
- Use a desktop browser, not a phone or tablet, for the first Tradovate login.
- Select Non-Professional status on every market data agreement you sign.
- Launch your account in Simulation/Demo mode, never Live.
- Wait up to 90 minutes for data activation, then verify it using ticker colors on your watchlist.
Each of these is a separate failure point covered in more detail below, but this sequence alone resolves the majority of connection problems traders report.
Setting Up Tradovate for Your Apex Account
Your Tradovate username and password live inside the Apex trader dashboard, listed separately from your Rithmic credentials if you have both. Copy them exactly. This sounds trivial until you paste a username with a trailing space or capitalize a password incorrectly, and Tradovate returns an "invalid credentials" error that has nothing to do with your actual account status. Apex issues distinct Tradovate credentials specifically for this reason, and mixing them up with Rithmic logins is one of the more common early mistakes.
Head to trader.tradovate.com and log in there, not through a mobile app. This matters because initial login and agreement signing must happen on a desktop browser; mobile frequently fails to surface the required prompts, leaving accounts stuck in limbo with no data and no clear error message.
Once you're in, Tradovate will ask you to sign a Market Data Subscriber agreement. Select Non-Professional. This single choice affects your wallet directly: choosing Professional status can trigger data fees running as high as $300 a month, and it can also slow down activation. Unless you're trading for a firm that requires Professional classification, Non-Professional is the correct answer for an Apex-funded evaluation or PA.
After the agreement, launch the platform in Simulation mode. Apex-provisioned accounts run in a simulated environment on Tradovate's side, so selecting Live will fail outright regardless of your account status or funding level.
- Copy credentials directly from the Apex dashboard field, not from an old email or saved note.
- Complete the entire login and agreement flow on desktop before touching a phone.
- Select Non-Professional on every data agreement prompt.
- Launch in Simulation, not Live.
Data typically activates 10 to 90 minutes after signing. Watch the color of your instrument ticker: white means live data is flowing, orange means it's still delayed or stale.
Pro Tip: Retype your Tradovate password manually the first time instead of pasting it. Copy-paste from certain browsers or password managers can carry invisible characters that cause silent login failures.
How to Link Tradovate to TradingView and NinjaTrader
Once your Tradovate account is live and confirmed with white ticker colors, connecting to a charting or execution platform is straightforward, provided you follow the activation order correctly.
For TradingView: open Tradovate, go to Add-Ons, and activate the TradingView integration. Log out and back into Tradovate to let the activation register. Then open TradingView's Trading Panel, select Tradovate as the broker, choose Demo, and log in with the same credentials. This add-on may require monthly reactivation, so if a connection that worked last month suddenly stops, check the Add-Ons tab before assuming something is broken. Traders looking to automate strategies further along this path may find TradingView's automation options worth reviewing once the basic connection is stable.
For NinjaTrader: enable Multi-provider mode inside NT8, add a new NinjaTrader connection for Tradovate, and paste in your Tradovate credentials. Set Account Type to Simulation, matching the mode you selected during initial Tradovate setup.
The two most common pitfalls at this stage:
- Attempting the TradingView or NinjaTrader connection before completing the initial desktop login and agreements on Tradovate itself.
- Selecting Live instead of Simulation on either platform, which triggers an immediate rejection since Apex accounts don't operate in live brokerage mode.
Both errors look like connection failures but are really sequencing problems. Fix the order, not the settings.
Managing Multiple Apex and Tradovate Accounts
Running several evaluations or PAs at once multiplies every step above rather than simplifying it. Each Tradovate username is a distinct entity to Tradovate's systems, which means market data agreements must be signed individually for every login, not once for your whole operation. There's no bulk approval.
Complete the initial desktop configuration for each account separately, since mobile apps display a maximum of five accounts and become unreliable for setup once you're past that count.
- Set up one account fully before starting the next, rather than opening five browser tabs at once.
- Keep a naming convention (account number, prop firm, phase) in a spreadsheet to avoid credential mix-ups.
- Stagger provisioning across a few hours if you're activating multiple accounts the same day, since data activation windows can overlap and mask which account is actually delayed.
Traders scaling past three or four accounts often find that managing the ecosystem manually becomes the real bottleneck, not the individual setups.
Common Errors and How to Fix Them
Most connection failures trace back to one of four causes, and diagnosing them quickly saves you from re-doing steps that were already correct.
- Invalid username or password: confirm you're using Tradovate credentials pulled from Apex, not Rithmic credentials, and retype rather than paste to rule out hidden characters.
- Authentication rejected repeatedly: verify the initial web login and agreement signing happened on desktop; a mobile-only attempt often leaves the account in an incomplete state.
- No data or delayed data: check that you selected Non-Professional, then wait out the 10 to 90 minute window and watch for the ticker to turn white.
- NinjaTrader input-string or connection errors: confirm Multi-provider mode is enabled and the symbol format matches Tradovate's contract naming.
Wrong-environment and wrong-credential mistakes account for the bulk of support tickets traders file in their first week. If a fix doesn't resolve things within one attempt, escalate: credential and dashboard issues go to Apex support, data agreement and platform bugs go to Tradovate, and third-party charting errors go to that vendor directly.
How TradeDupe Handles Multi-Account Trading After Setup
Once your Tradovate connections are live, the operational challenge shifts from "how do I connect" to "how do I manage five, ten, or thirty of these at once without missing a rogue trade." That's the layer TradeDupe was built for.
- Real-time trade mirroring from a single leader account to every follower, with median latency around 34ms.
- Rogue-trade detection and auto-recovery that catch execution problems before they cascade across accounts.
- Per-account toggle controls, so you can pause or resume individual accounts without touching the rest.
- A centralized dashboard for sync status, leader and follower activity, and analytics across every connected Tradovate login.
For traders juggling multiple Apex evaluations and PAs, that centralization replaces a scattering of browser tabs with one view of risk and status.
Author Perspective: What Actually Determines Setup Success
The traders who get stuck almost always skipped the desktop step or jumped to Live mode out of habit. Do the initial login and agreements on desktop first, always. Keep the native Tradovate dashboard open as your source of truth for drawdown, not a third-party app. If you're still stuck, check three things in order: credential formatting, agreement status, and whether you're actually in Simulation mode. That order resolves most problems before you need to contact anyone.
> — Andres
Scale Your Apex Tradovate Setup With TradeDupe
Manually watching multiple Tradovate windows for rogue trades or missed fills doesn't scale past a couple of accounts, and that's exactly the gap TradeDupe closes for Apex-funded traders running several evaluations or PAs at once.
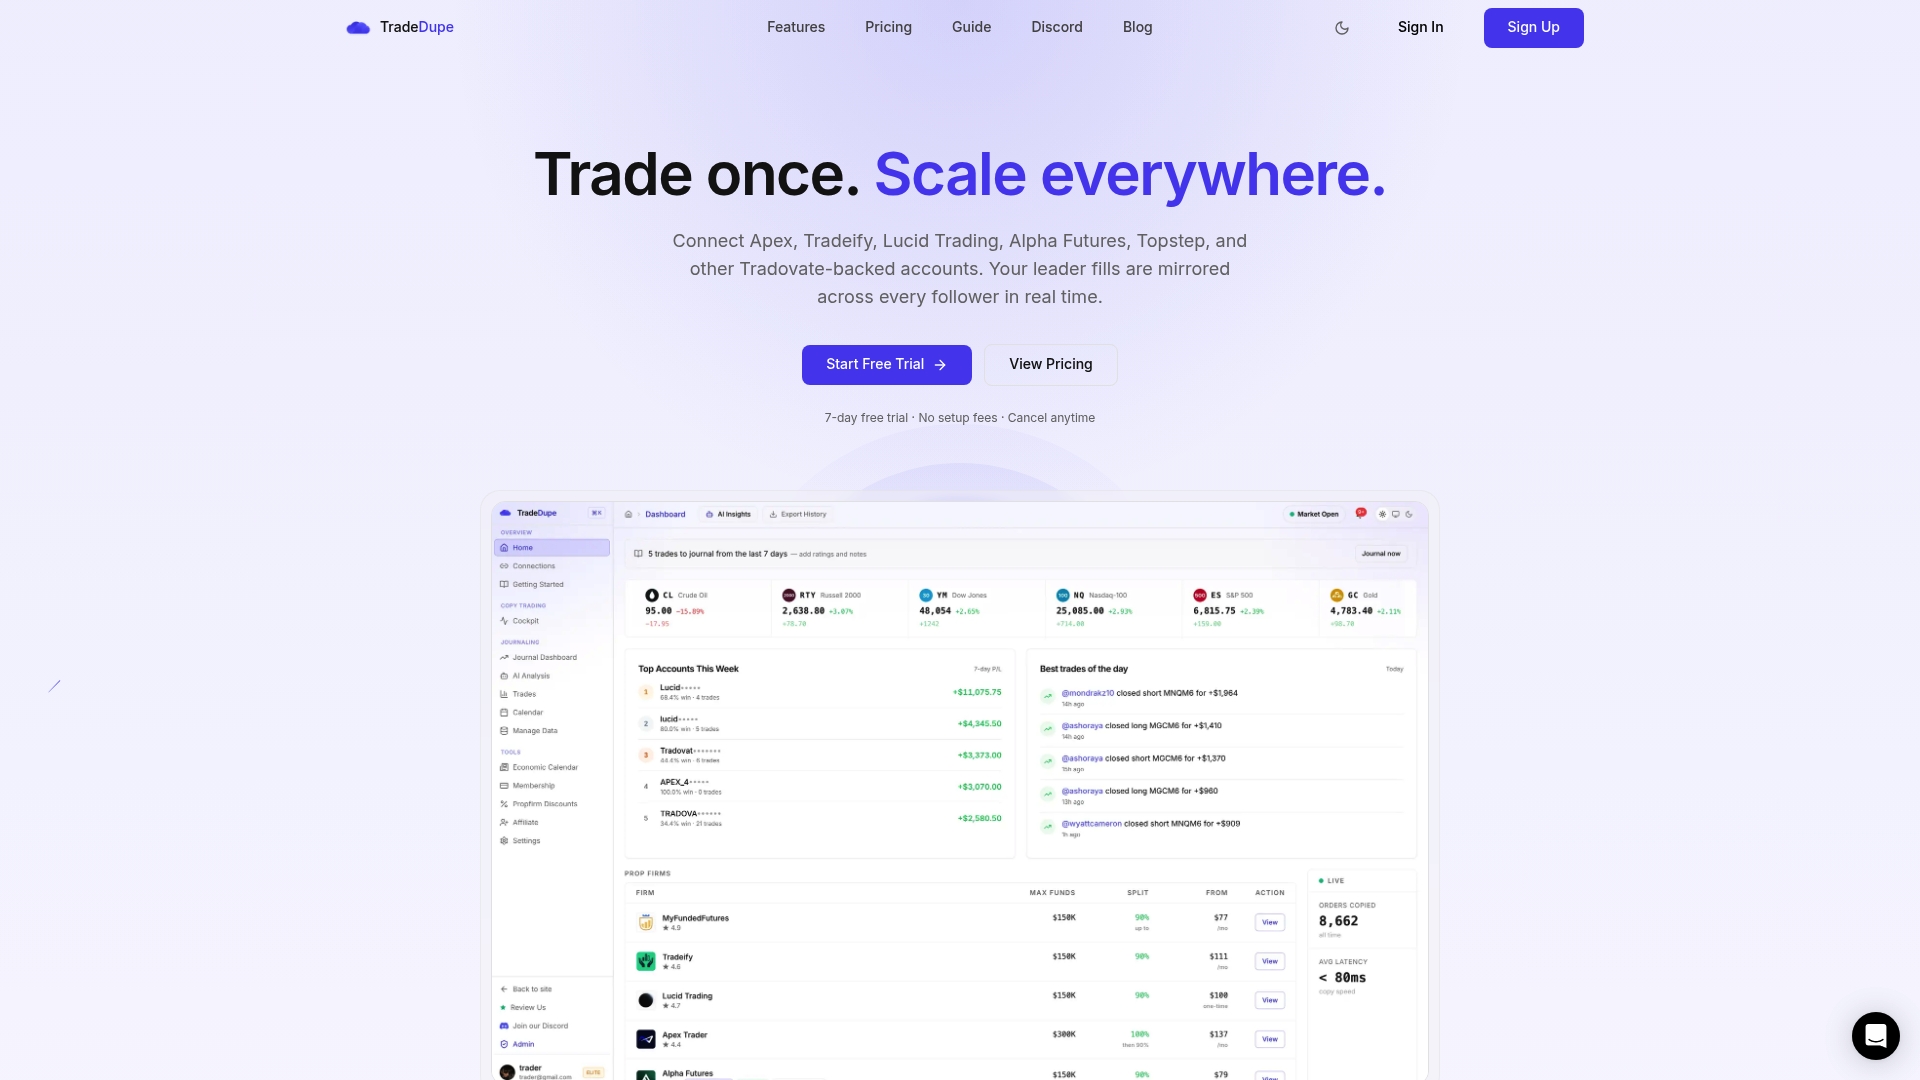
Instead of babysitting each connection separately, you get one leader account whose trades mirror across every follower in real time, with rogue-trade detection and auto-recovery running in the background. Per-account toggles let you pull a single account out of the mirror instantly if something looks off, without disrupting the rest of your setup, and the analytics dashboard gives you one place to check sync status across your entire Tradovate footprint. If you've just finished connecting your first Apex account and are already planning to add more, get started with TradeDupe and have your first mirror running in about ten minutes.
Sources
- Setting up Tradovate - Apex Trader Funding
- Set Up and Connection Guide for Tradovate – Apex Trader Funding
- How to Set Up Tradovate for Apex Trader Funding - H2T Funding
- How to Link Tradovate with Apex Trader Funding | Damn Prop Firms
- Trader